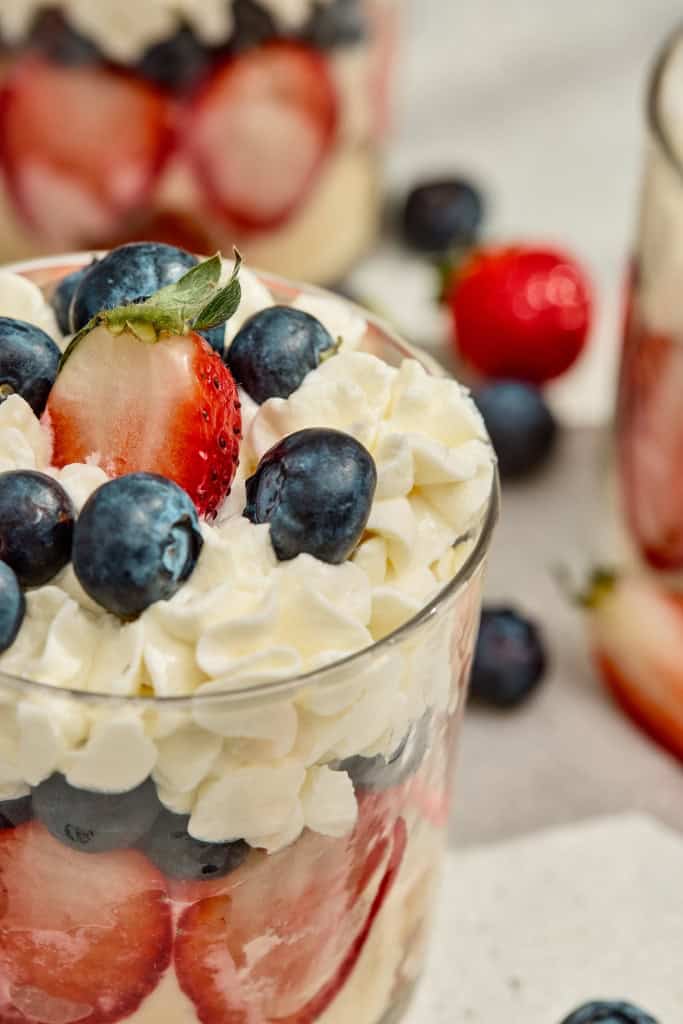
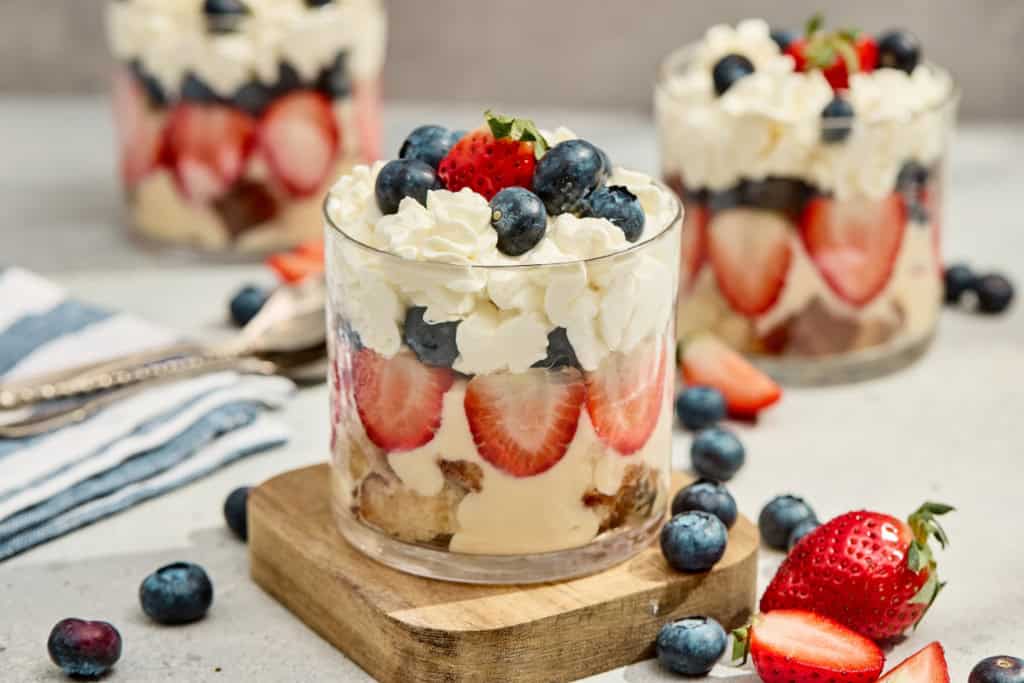
Red White And Blue Trifle
There’s just something about a layered dessert that feels a little extra special, isn’t there? Maybe it’s the way you can see every beautiful layer through the glass, or how each spoonful gives you a bit of everything soft cake, creamy pudding, fluffy whipped cream, and sweet, juicy fruit.
Why This Trifle Is Always a Crowd Favorite
If you’ve ever needed a dessert that feels festive but still easy, this is it. It ticks all the boxes:
- It’s bright, colorful, and instantly eye-catching
- It feeds a crowd without doubling or stressing
- You can prep parts ahead (huge win)
- And it’s one of those desserts everyone kids and adults actually eats
A Little Real-Life Tip Before You Start
If you’re like me, you might look at a layered dessert and think, “That looks amazing… but is it going to be complicated?”
I promise this isn’t one of those recipes.
Yes, there are a few components (cake, pudding, cream), but each step is simple and forgiving. And honestly, even if your layers aren’t perfect, it still turns out beautiful. That’s the magic of a trifle there’s no pressure for perfection.
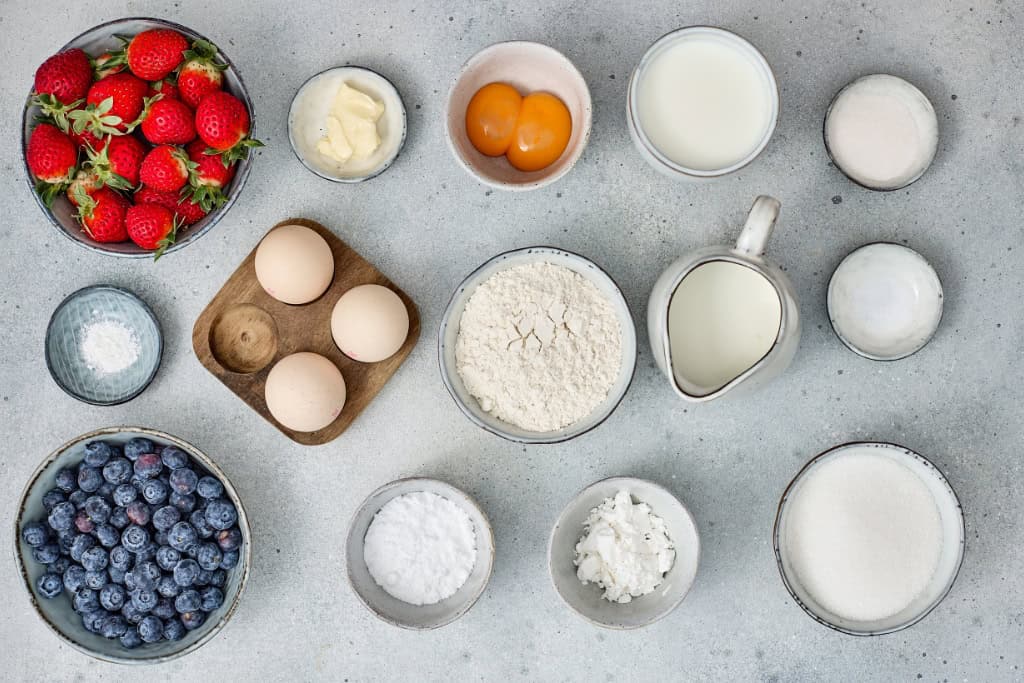
Ingredients
Sponge Cake
Homemade Vanilla Pudding
Whipped Cream Layer
Fruit
Step-by-Step Instructions
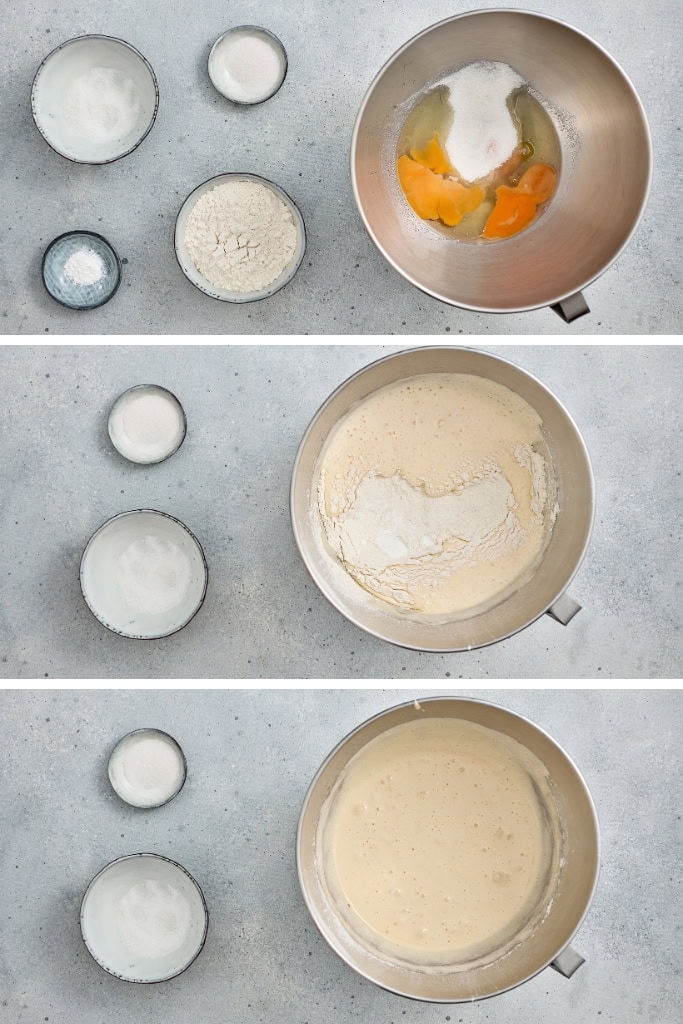
1. Bake the Sponge Cake
Start by preheating your oven to 350°F (180°C). Grease and line a square baking pan this makes removing the cake so much easier later.
In a large bowl, beat together the eggs, sugar, vanilla, and salt. Keep going until the mixture becomes thick, pale, and fluffy. You’ll notice it almost triples in volume that’s exactly what you want. This step gives your sponge that light, airy texture.
Next, sift in the flour and baking powder. Gently fold everything together using a spatula. Try not to rush here slow and gentle keeps all that lovely air in the batter.
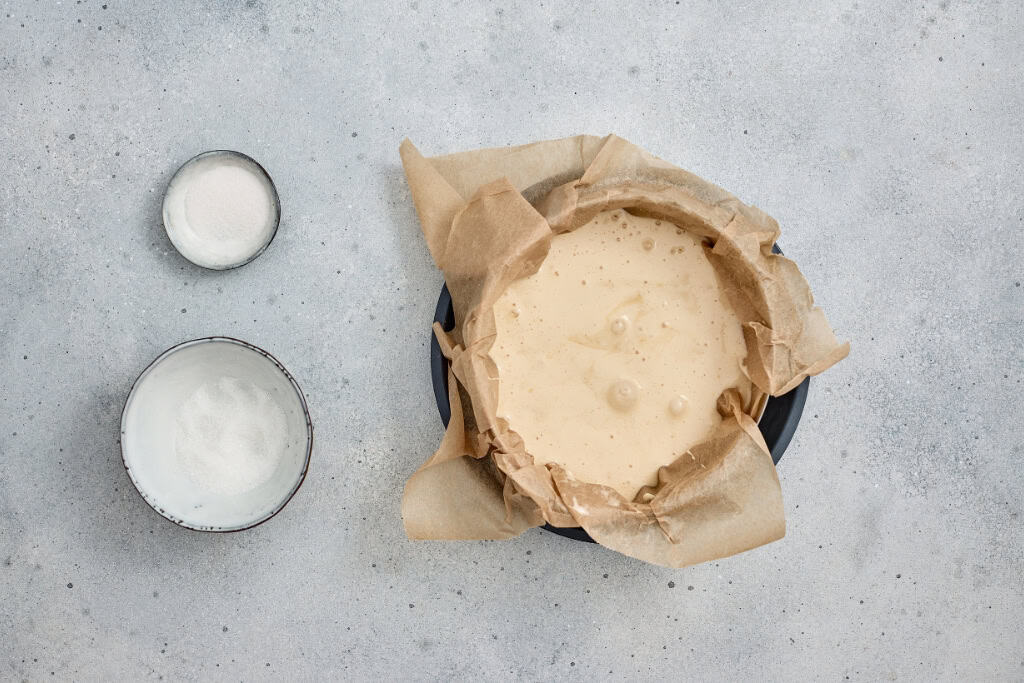
Pour the mixture into your prepared pan and bake for 20–25 minutes, until the top is lightly golden.
Let the cake cool completely (this part is important warm cake will melt your layers). Once cooled, cut it into bite-sized cubes.
Real-life tip: If your cake cracks a little or looks uneven, don’t stress. Once it’s cubed and layered, no one will ever know.
2. Make the Vanilla Pudding
In a medium saucepan, whisk together the milk, sugar, egg yolks, and cornstarch.
Place the pan over medium heat and whisk constantly. This is one of those moments where staying nearby really helps don’t walk away, because it thickens quickly.
As it heats, the mixture will go from thin to thick and creamy. Once it starts bubbling and has a pudding-like consistency, remove it from the heat.
Stir in the vanilla sugar and butter until smooth and glossy.
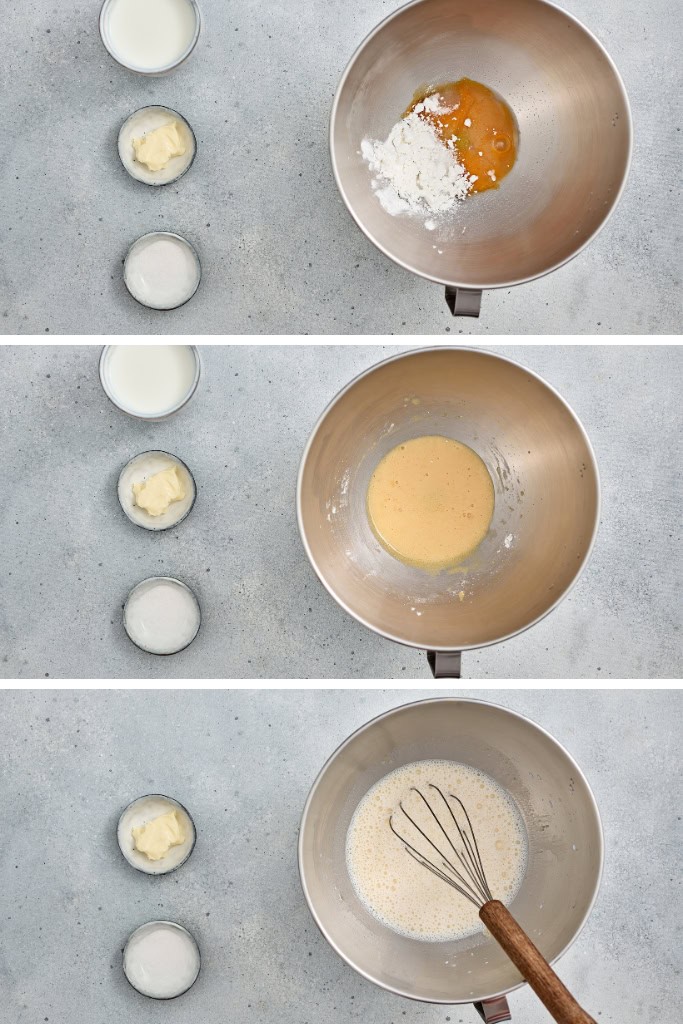
To prevent a skin from forming, press a piece of plastic wrap directly onto the surface of the pudding. Let it cool completely before assembling.
Little shortcut option: If you’re in a rush, you can use store-bought pudding. But if you have the time, homemade really does make it feel extra special.
3. Prepare the Whipped Cream
In a chilled bowl (this helps it whip faster), add your cold heavy cream, powdered sugar, and vanilla sugar.
Beat until stiff peaks form. You want it thick enough to hold its shape, but still soft and fluffy.
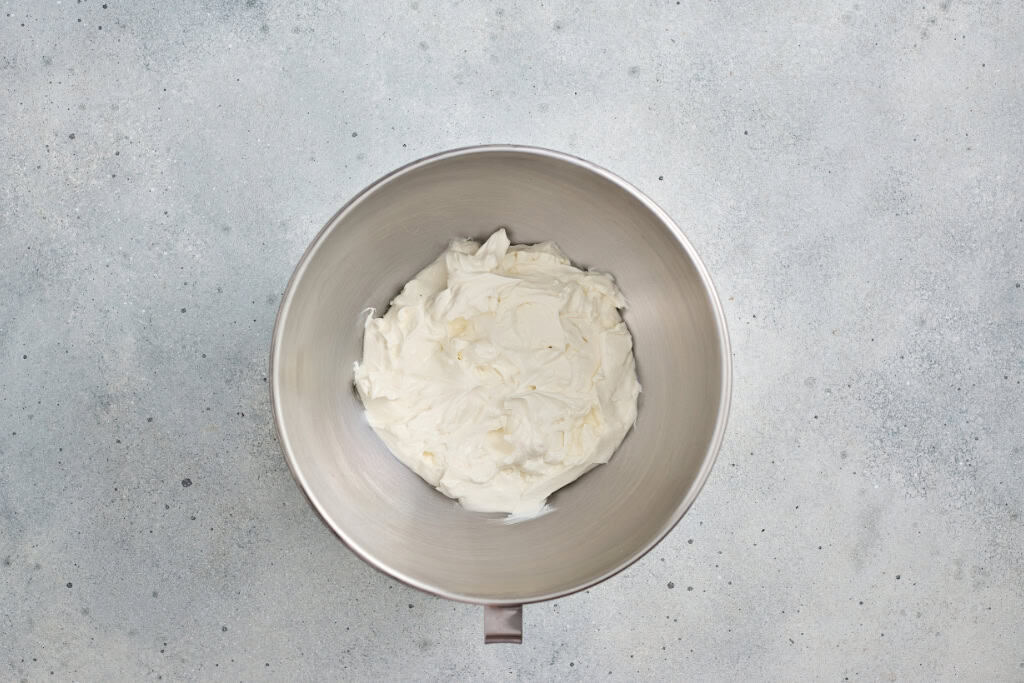
Tip from experience: Don’t overbeat if it starts looking grainy, you’ve gone a bit too far. Stop as soon as it holds peaks.
4. Assemble the Trifle
Now for the fun part layering everything together.
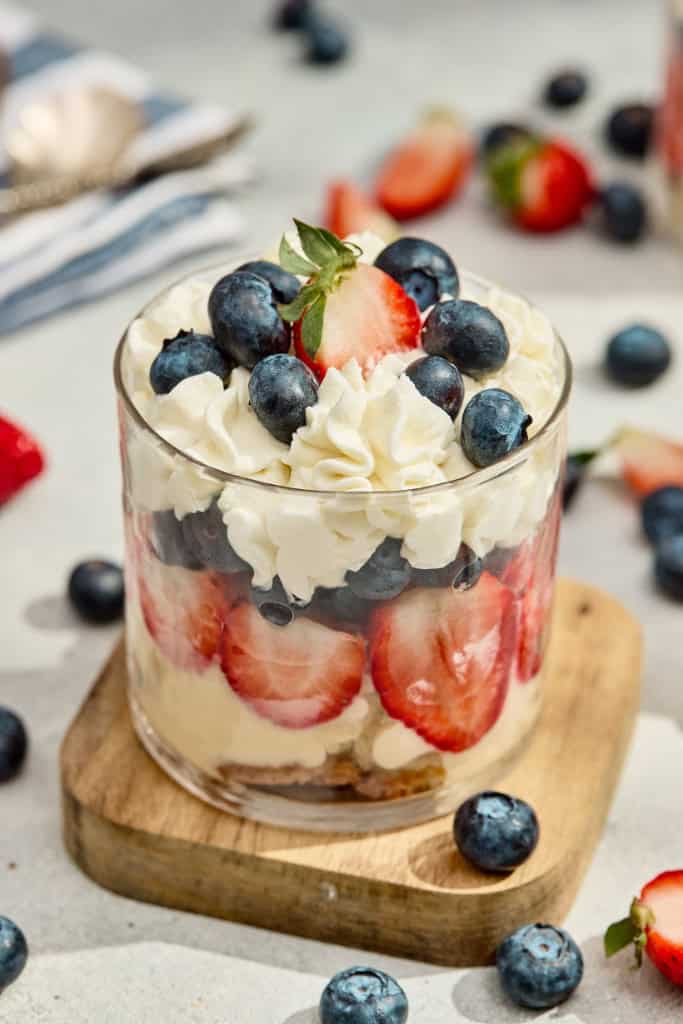
Grab a large glass trifle bowl (or individual jars if you’re serving guests). The clear glass really shows off those beautiful layers.
Start with a layer of sponge cake cubes at the bottom.
Add a generous layer of your cooled vanilla pudding, spreading it gently over the cake.
Next, place sliced strawberries and blueberries along the sides of the bowl. This gives that gorgeous red and blue look from the outside.
Top with a layer of whipped cream.
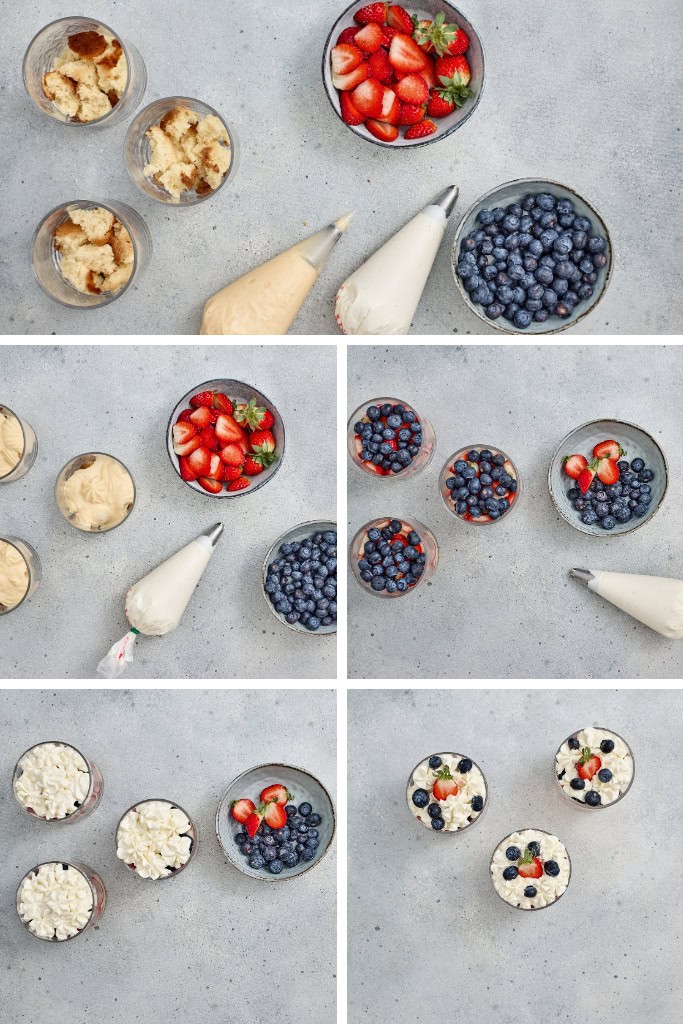
Repeat the layers if you have room cake, pudding, fruit, whipped cream until your bowl is full.
Finish with a swirl of whipped cream on top and a handful of fresh berries for decoration.
Making It Ahead
One of the best things about this trifle is how well it works for make-ahead prep.
You can:
- Bake the cake a day in advance
- Make the pudding ahead and refrigerate
- Assemble the entire trifle a few hours before serving
In fact, letting it sit for a bit actually helps the flavors come together even more. The cake soaks up just enough of the pudding to become soft and delicious.
Serving Ideas
This dessert shines at:
- Family BBQs
- Holiday gatherings
- Birthday parties
- Potlucks
- Or just a fun weekend treat with the kids
If you want to make it extra special, try serving it in individual jars or cups.
Easy Variations
Once you’ve made this once, you’ll see how easy it is to switch things up.
Short on time?
Use store-bought sponge cake or even pound cake.
Want a twist?
Add a layer of berry jam between the cake and pudding.
No blueberries?
Raspberries or blackberries work beautifully too.
Feeling fancy?
Add a drizzle of white chocolate over the top layer.
A Few Lessons Learned Along the Way
Here are a few little things that make a big difference:
- Always let everything cool before layering
- Don’t skimp on the pudding layer it’s what ties everything together
- Use fresh fruit if you can it really lifts the whole dessert
- And most importantly… don’t overthink the layers
This is one of those desserts where “imperfect” still turns out absolutely perfect.
This Red, White and Blue Trifle is one of those recipes that just feels happy. It’s bright, it’s fresh, and it brings people together around the table which, at the end of the day, is what it’s all about.
View More Red White and Blue Recipes
- Red White and Blue Popcorn
- Red White and Blue Jello Shots
- Red, White, and Blue Watermelon Salad
- Red, White, and Blue Popsicles
- Red White and Blue Cherries

Red White and Blue Trifle
Ingredients
Sponge Cake
- 3 large eggs
- ½ cup granulated sugar 100 g
- 1 tsp vanilla sugar or vanilla extract 5 ml
- 1 pinch salt
- ¾ cup all-purpose flour 100 g
- 1 tsp baking powder 4 g
Homemade Vanilla Pudding
- 1 ¼ cups whole milk 300 ml
- ½ cup granulated sugar 100 g
- 2 large egg yolks
- ¼ cup cornstarch 40 g
- 1 tsp vanilla sugar 5 ml
- 2 tbsp unsalted butter 30 g
Whipped Cream Layer
- 1 ¼ cups cold heavy whipping cream 300 ml
- ½ cup powdered sugar 60 g
- 1 tsp vanilla sugar 5 ml
Fruit
- 3 cups fresh strawberries, sliced 300 g
- 1 ½ cups fresh blueberries (optional, for the “blue” layer) approx. 200 g
Instructions
Bake the Sponge Cake
- Start by preheating your oven to 350°F (180°C). Grease and line a square baking pan this makes removing the cake so much easier later.
- In a large bowl, beat together the eggs, sugar, vanilla, and salt. Keep going until the mixture becomes thick, pale, and fluffy. You’ll notice it almost triples in volume that’s exactly what you want. This step gives your sponge that light, airy texture.
- Next, sift in the flour and baking powder. Gently fold everything together using a spatula. Try not to rush here slow and gentle keeps all that lovely air in the batter.
- Pour the mixture into your prepared pan and bake for 20–25 minutes, until the top is lightly golden.
- Let the cake cool completely (this part is important warm cake will melt your layers). Once cooled, cut it into bite-sized cubes.Real-life tip: If your cake cracks a little or looks uneven, don’t stress. Once it’s cubed and layered, no one will ever know.
Make the Vanilla Pudding
- In a medium saucepan, whisk together the milk, sugar, egg yolks, and cornstarch.
- Place the pan over medium heat and whisk constantly. This is one of those moments where staying nearby really helps don’t walk away, because it thickens quickly.
- As it heats, the mixture will go from thin to thick and creamy. Once it starts bubbling and has a pudding-like consistency, remove it from the heat.
- Stir in the vanilla sugar and butter until smooth and glossy.
- To prevent a skin from forming, press a piece of plastic wrap directly onto the surface of the pudding. Let it cool completely before assembling.
- Little shortcut option: If you’re in a rush, you can use store-bought pudding. But if you have the time, homemade really does make it feel extra special.
Prepare the Whipped Cream
- In a chilled bowl (this helps it whip faster), add your cold heavy cream, powdered sugar, and vanilla sugar.
- Beat until stiff peaks form. You want it thick enough to hold its shape, but still soft and fluffy.Tip from experience: Don’t overbeat if it starts looking grainy, you’ve gone a bit too far. Stop as soon as it holds peaks.
Assemble the Trifle
- Now for the fun part layering everything together.
- Grab a large glass trifle bowl (or individual jars if you’re serving guests). The clear glass really shows off those beautiful layers.
- Start with a layer of sponge cake cubes at the bottom.
- Add a generous layer of your cooled vanilla pudding, spreading it gently over the cake.
- Next, place sliced strawberries and blueberries along the sides of the bowl. This gives that gorgeous red and blue look from the outside.
- Top with a layer of whipped cream.
- Repeat the layers if you have room cake, pudding, fruit, whipped cream until your bowl is full.
- Finish with a swirl of whipped cream on top and a handful of fresh berries for decoration.