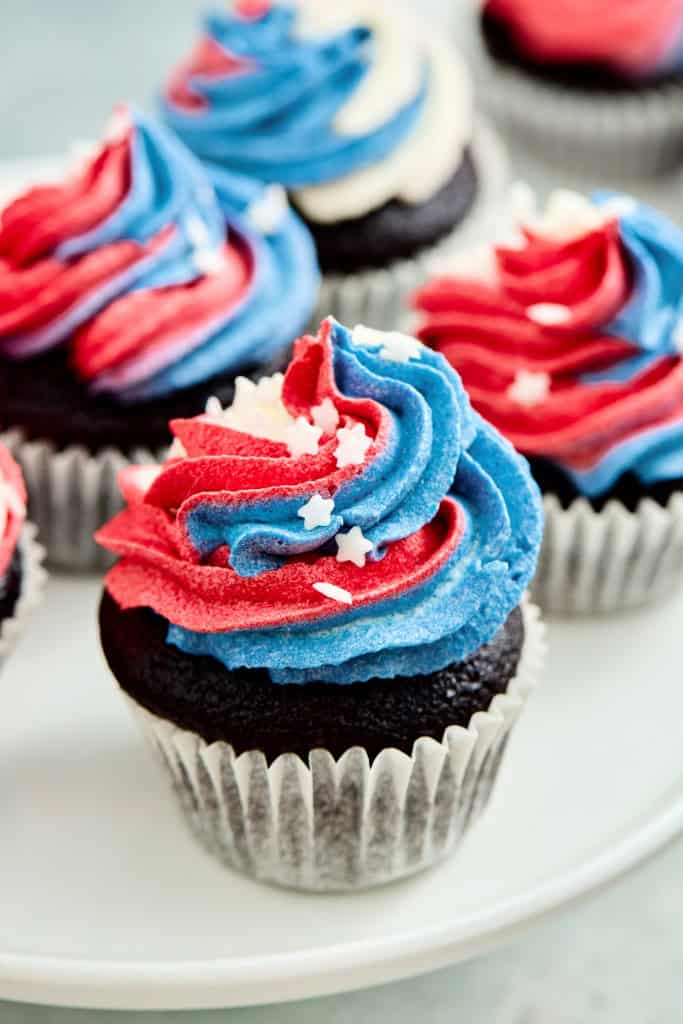
Red White and Blue Cupcakes
These delicious red, white, and blue cupcakes feel like an instant celebration. Whether it’s a backyard BBQ, a birthday, or one of those “let’s just get everyone together” kind of weekends, these cupcakes are always a hit.
And if you’ve ever found yourself juggling kids, last-minute plans, and a kitchen that somehow got messy five minutes after you cleaned it… you’re in the right place. This is one of those recipes that looks impressive (hello, gorgeous swirls!) but is actually super simple to pull together even if life feels a little chaotic.
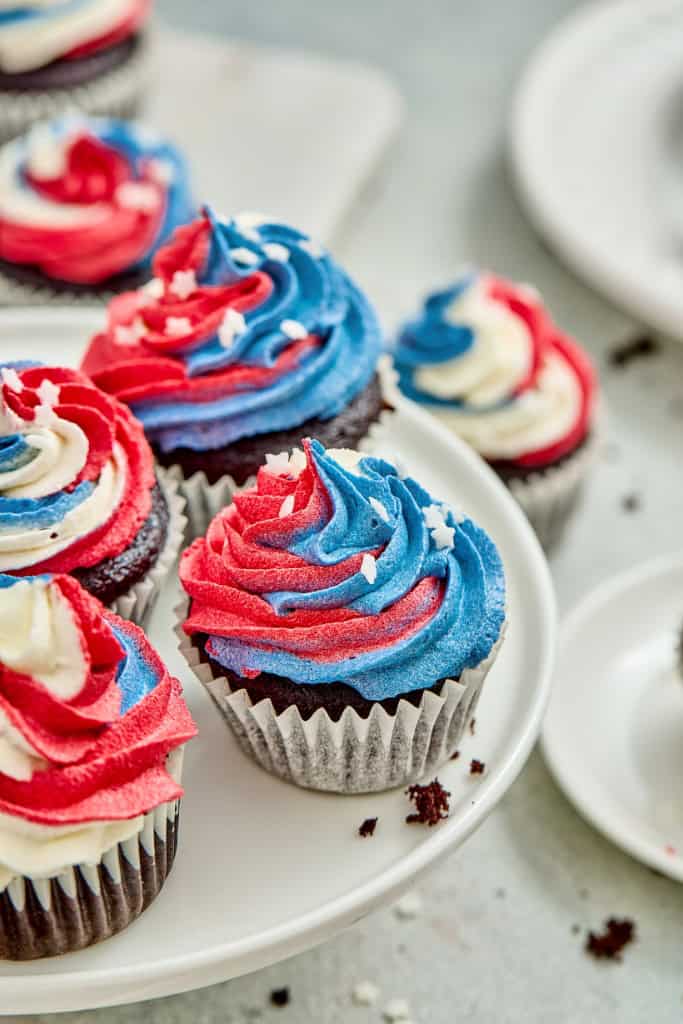
These Red, White & Blue Chocolate Cupcakes are rich, soft, and perfectly chocolatey, topped with a light, fluffy buttercream that’s just sweet enough. The best part? That tri-color swirl on top looks like you spent ages decorating… but it’s actually a clever little shortcut that makes life easier.
Why You’ll Love These Cupcakes
If you’ve ever needed a “go-to” party dessert that works every single time, this is it.
- Quick and easy: You can have these baked in under an hour (cooling time aside).
- No fancy skills needed: If you can whisk and stir, you’ve got this.
- Perfect for sharing: Makes 12 cupcakes ideal for gatherings or school events.
- That wow factor: The red, white, and blue swirl looks bakery-level without the stress.
- Kid-approved: Chocolate cupcakes + colorful frosting = guaranteed excitement.
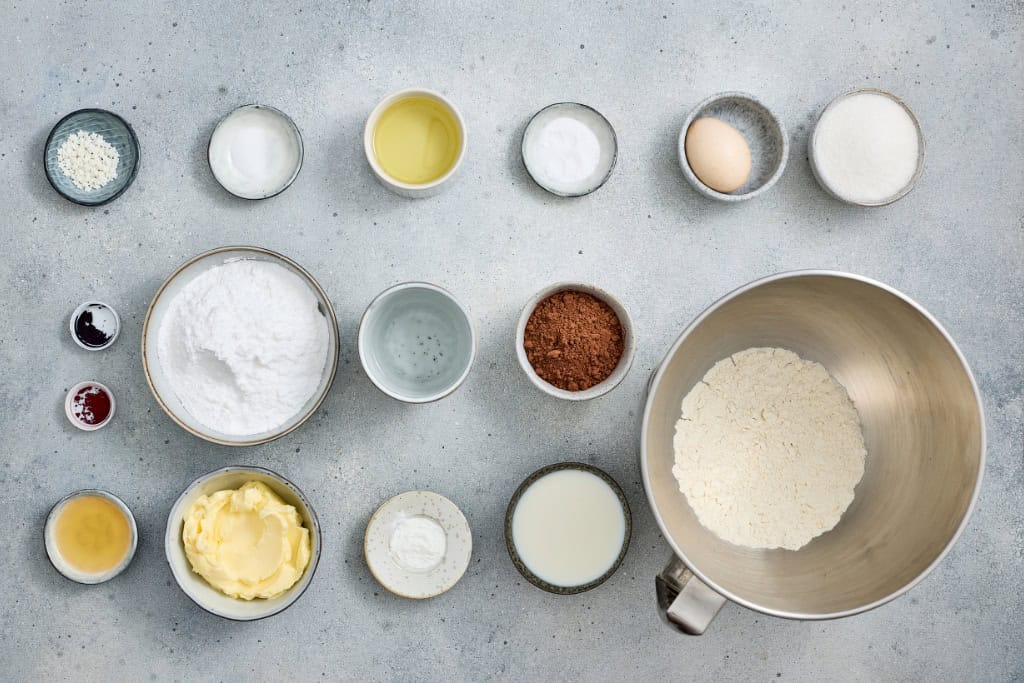
Ingredients You’ll Need
Chocolate Cupcakes
Buttercream Base
Decoration
Let’s Bake These Together
Step 1: Prep Your Kitchen
Start by preheating your oven to 350°F (180°C) and lining a 12-cup muffin tin with cupcake liners.
This is one of those small steps that makes everything smoother. There’s nothing worse than having your batter ready and realizing you forgot the liners (we’ve all been there).
Step 2: Mix the Dry Ingredients
In a large bowl, whisk together:
- Flour
- Cocoa powder
- Baking powder
- Baking soda
- Salt
- Sugar
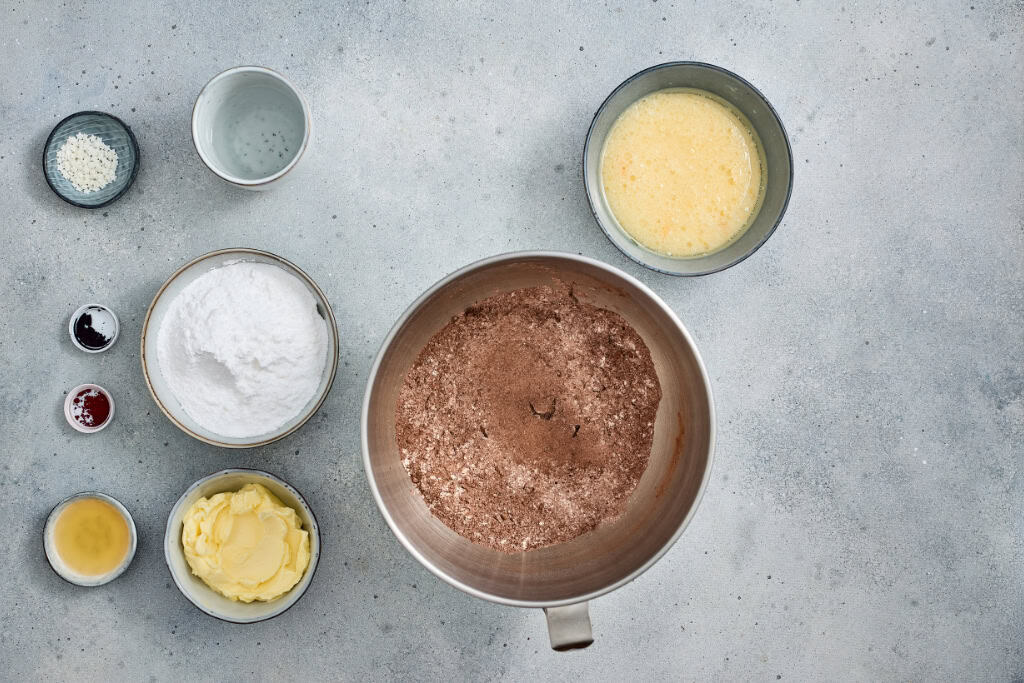
Take a second to break up any cocoa powder lumps it helps your cupcakes bake evenly and keeps the texture nice and smooth.
Step 3: Add the Wet Ingredients
Add:
- Egg
- Oil
- Milk
Whisk until everything is well combined and smooth.
At this stage, the batter will look thick and rich like a classic chocolate batter.
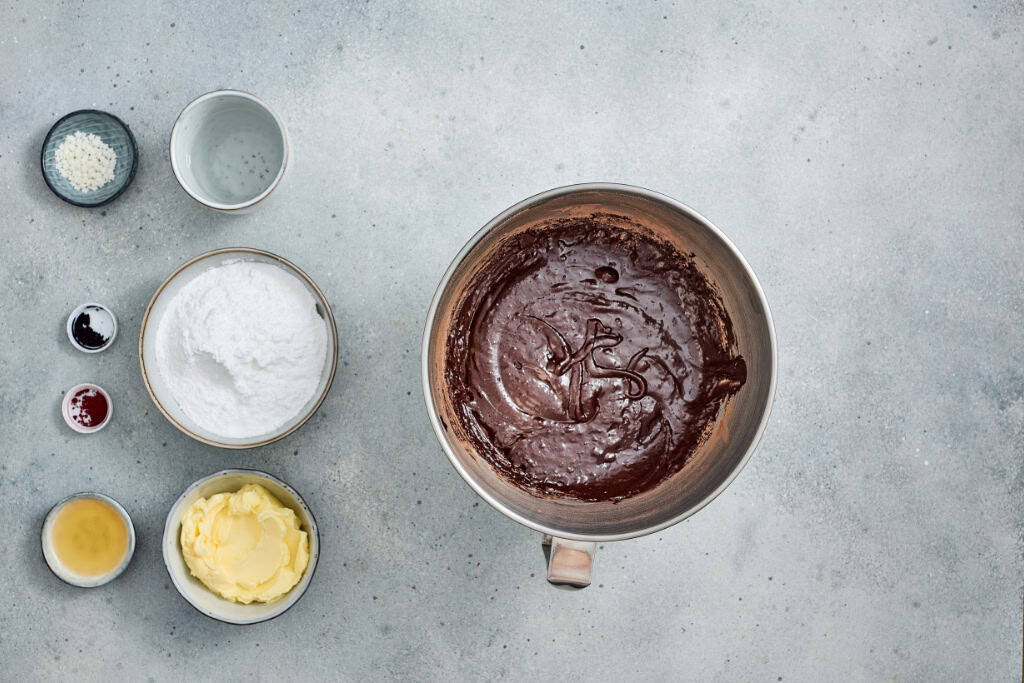
Step 4: The Secret to Moist Cupcakes
Now carefully stir in the hot water.
Yes, it feels a little strange. And yes, the batter will suddenly look very thin.
But trust the process this is what gives you that soft, tender, almost melt-in-your-mouth texture. It’s one of those little baking tricks that makes a big difference.
Step 5: Bake
Divide the batter evenly between your cupcake liners.

Bake for 18–20 minutes, or until a toothpick inserted into the center comes out clean.
While they bake, your kitchen will smell amazing like proper chocolate cake heaven.
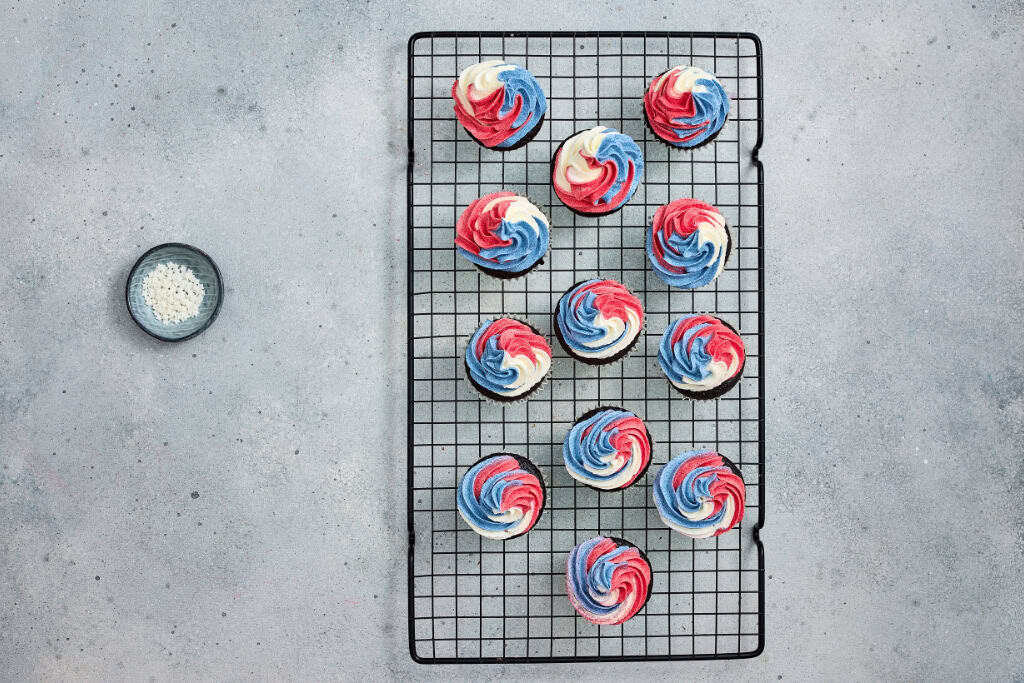
Step 6: Cool Completely
Let the cupcakes cool on a wire rack.
This part takes patience (especially if kids are hovering nearby asking, “Are they ready yet?”). But frosting warm cupcakes will melt the buttercream, so it’s worth the wait.
Making the Buttercream
Step 7: Whip the Butter
In a large bowl, beat the softened butter until it’s light and fluffy.
This step is key for that smooth, creamy texture. If your butter is too cold, it won’t whip properly so make sure it’s nice and soft.
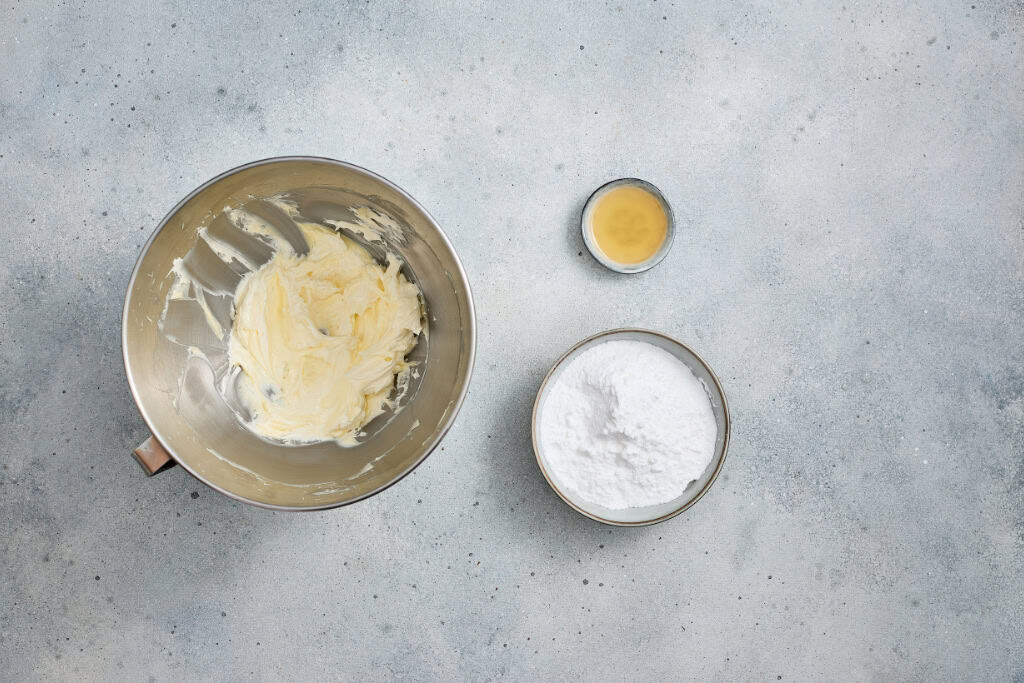
Step 8: Add the Sugar
Gradually add the powdered sugar, one cup at a time.
- Start mixing on low (to avoid a sugar cloud explosion again, we’ve all been there).
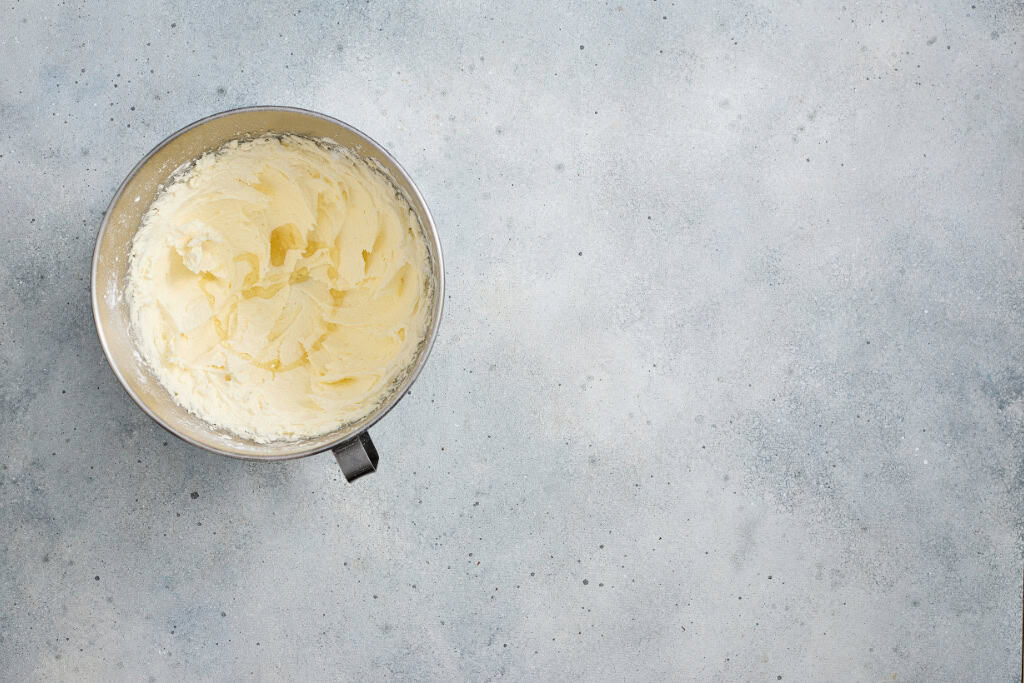
- Then increase to high speed once it’s incorporated.
Keep mixing until the buttercream is smooth and fluffy.
Step 9: Add Vanilla
Mix in the vanilla extract.
At this point, your buttercream should taste like something you’d happily eat straight off the spoon. No judgment if you do.
The Fun Part: Decorating
Step 10: Divide and Color
Split the buttercream into three bowls:
- Leave one white
- Color one red
- Color one blue
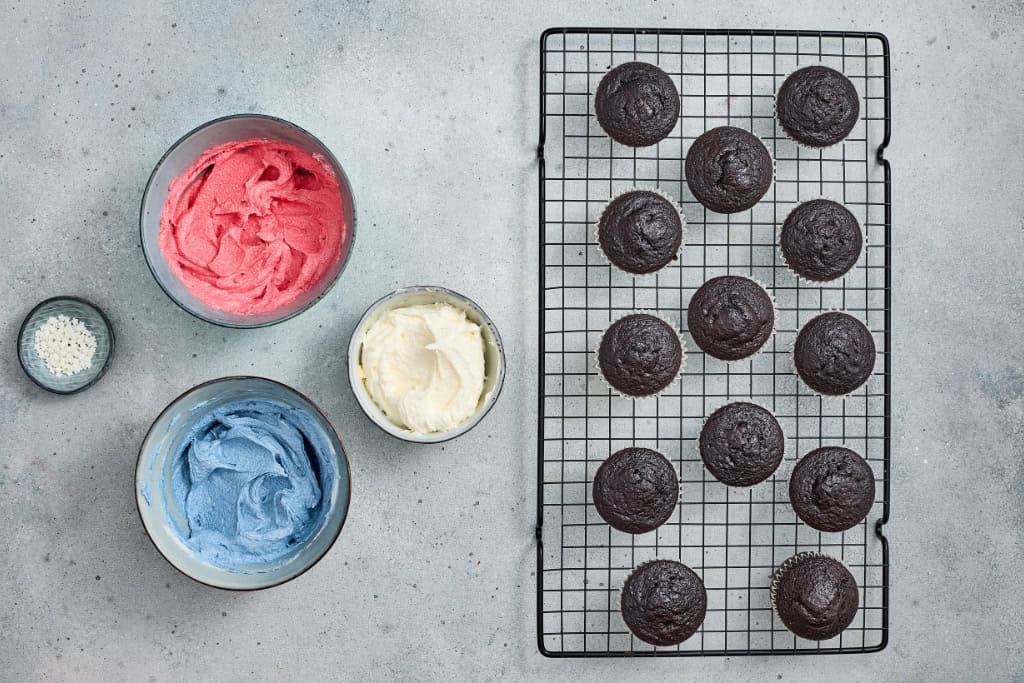
Gel food coloring works best here because it gives you vibrant color without thinning the frosting.
Step 11: Create the Swirl Trick
This is the part that looks fancy but is actually super simple.
- Lay a piece of plastic wrap on the counter
- Spread each color in strips side by side
- Roll it up into a log
- Snip one end
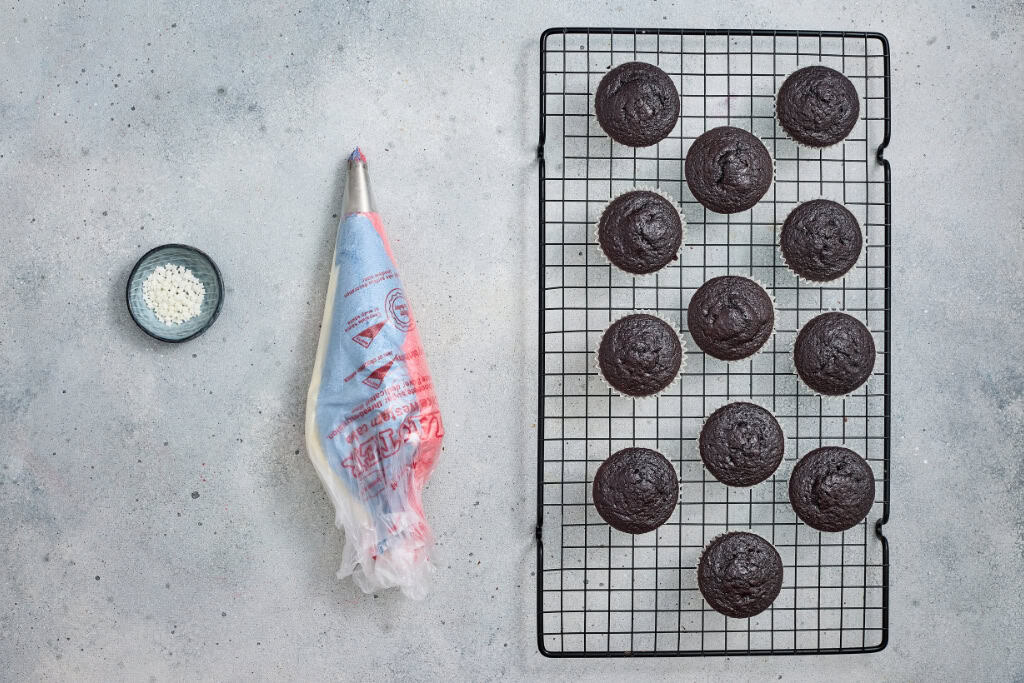
Place the log into a piping bag fitted with a large star tip.
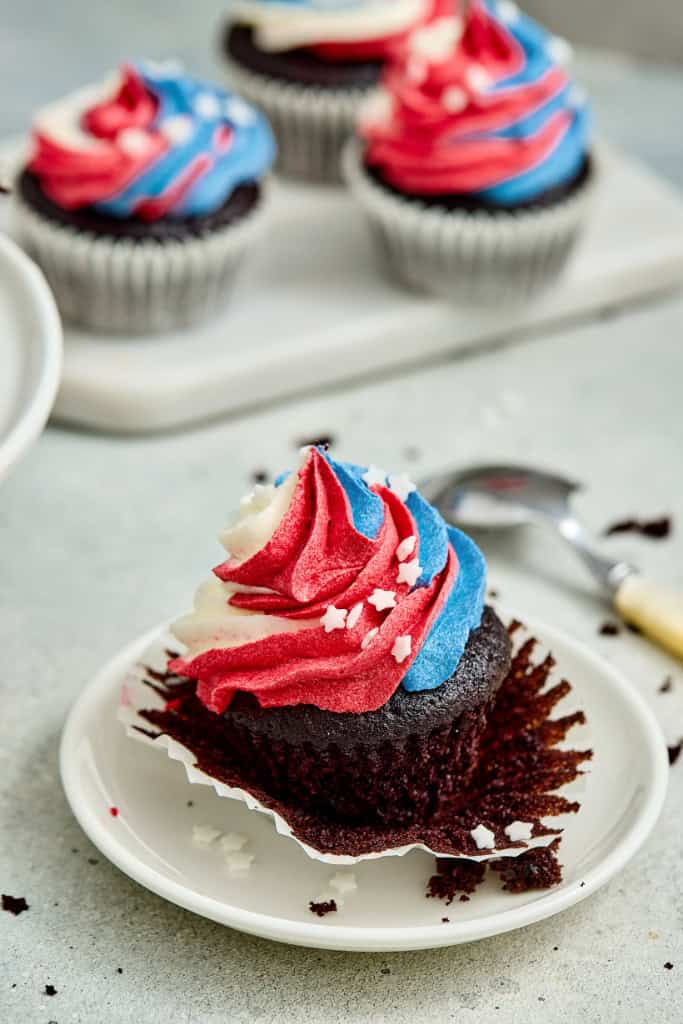
Step 12: Pipe the Magic
Pipe swirls onto each cooled cupcake.
As you swirl, the colors will naturally blend into that beautiful red, white, and blue pattern. It’s one of those little “wow” moments that feels extra special.
Real-Life Tips (From One Busy Kitchen to Another)
- No piping bag? Use a zip-top bag and snip the corner it still works beautifully.
- Short on time? Make the cupcakes the day before and frost the next day.
- Messy kids helping? Let them decorate a few cupcakes it won’t be perfect, but it’ll be fun.
- Too sweet? Add a tiny pinch of salt to the buttercream to balance it out.
When to Serve These
These cupcakes fit just about any celebration:
- Summer BBQs
- Birthday parties
- School events
- Holiday gatherings
- Or even just a “we made it through the week” treat
Make-Ahead & Storage
Life gets busy, so here’s how to stay ahead:
- Cupcakes (unfrosted): Store in an airtight container for up to 2 days
- Buttercream: Can be made ahead and stored in the fridge (just re-whip before using)
- Frosted cupcakes: Best enjoyed within 2 days
So whether you’re baking for a crowd or just your family at home, I hope these bring a bit of fun, a bit of color, and a whole lot of smiles to your kitchen.
And if things get messy along the way? That usually means you’re doing it right.
Check Out More Cupcake Recipes
- Green Matcha Cupcakes
- Monster Eye Cupcakes
- Galaxy Cupcakes
- St Patricks Day Rainbow Cupcakes
- Beauty and The Beast Cupcakes
- UP Cupcakes
- Grinch Cupcakes
- Alien Spaceship Cupcakes
- Patriotic Cupcakes
- Cotton Candy Cupcakes
Red White and Blue Cupcakes
Ingredients
Chocolate Cupcakes
- 1 cup all-purpose flour 130 g
- ½ cup unsweetened cocoa powder 50 g
- 1 tsp baking powder 4 g
- ½ tsp baking soda 3 g
- ¼ tsp salt 1.5 g
- ¾ cup granulated sugar 160 g
- 1 large egg 80 ml
- ⅓ cup neutral oil (vegetable or canola) 120 ml
- ½ cup milk
- ½ cup hot water 120 ml
Buttercream Base
- ¾ cup plus 2 tbsp unsalted butter, very soft 200 g
- 3 cups powdered sugar 350 g
- 1 tsp vanilla extract 5 ml
Decoration
- Red gel food coloring
- Blue gel food coloring
Instructions
Making the Cupcakes
- Start by preheating your oven to 350°F (180°C) and lining a 12-cup muffin tin with cupcake liners.This is one of those small steps that makes everything smoother. There’s nothing worse than having your batter ready and realizing you forgot the liners (we’ve all been there).
- In a large bowl, whisk together: flour, cocoa powder, baking powder, baking soda, salt, sugar
- Take a second to break up any cocoa powder lumps it helps your cupcakes bake evenly and keeps the texture nice and smooth.
- Add the Wet Ingredients: egg, oil, milk. Whisk until everything is well combined and smooth.At this stage, the batter will look thick and rich like a classic chocolate batter.
- Now carefully stir in the hot water.
- Divide the batter evenly between your cupcake liners.
- Bake for 18–20 minutes, or until a toothpick inserted into the center comes out clean.
- Let the cupcakes cool on a wire rack.
Making the Buttercream
- In a large bowl, beat the softened butter until it’s light and fluffy.This step is key for that smooth, creamy texture. If your butter is too cold, it won’t whip properly so make sure it’s nice and soft.
- Gradually add the powdered sugar, one cup at a time. Start mixing on low (to avoid a sugar cloud explosion again, we’ve all been there). Then increase to high speed once it’s incorporated.
- Keep mixing until the buttercream is smooth and fluffy.
- Mix in the vanilla extract. At this point, your buttercream should taste like something you’d happily eat straight off the spoon. No judgment if you do.
- Split the buttercream into three bowls: leave one white, color one red, color one blue.Gel food coloring works best here because it gives you vibrant color without thinning the frosting.
- Create the swirl trick: Lay a piece of plastic wrap on the counter. Spread each color in strips side by side. Roll it up into a log. Snip one end.
- Place the log into a piping bag fitted with a large star tip.
- Pipe swirls onto each cooled cupcake.As you swirl, the colors will naturally blend into that beautiful red, white, and blue pattern. It’s one of those little “wow” moments that feels extra special.


